Hand Laid Turnout Tutorial
Page 8
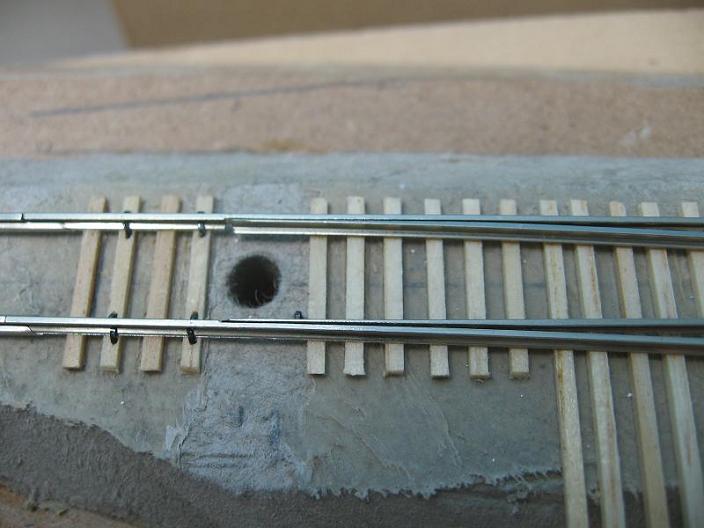
Ok, now that the straight closure rail is sitting in place, we can now spike it in. Starting from the frog point, count out between 7-10 ties and put in 2 spikes, one on each side. In this area, we are not worried about spiking into the same tie as the stock rails are spiked into, since we'll be filling in this whole area with spikes.
After those 2 spikes are in, we'll count between 15-18 ties from the frog point and put in 2 more spikes, this time they'll go into the same ties as the spikes holding the stock rails. Then back up 4 ties and put in 2 more spikes. So we'll have something like this:
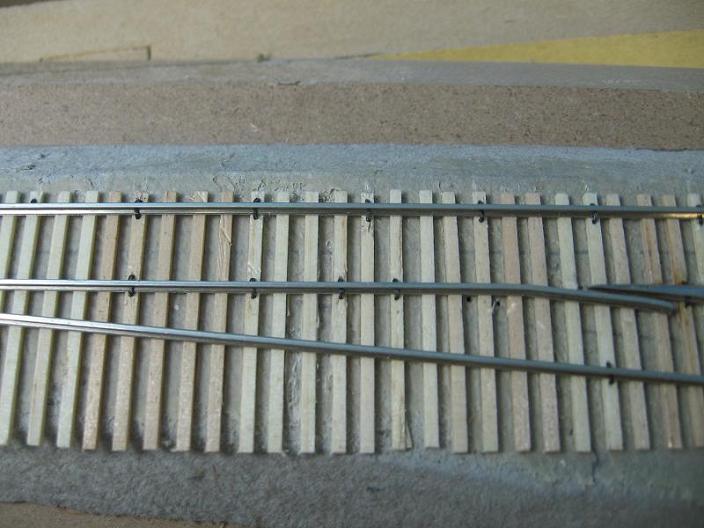
These will hold the straight closure rail in place while we get the curved closure rail into position.
Now we'll grab some more rail and put it into the Fast Tracks Point Former and file it down. Once the burrs are taken off and the rail is smooth, we'll bend it into the same curve as the stock rail. (see previous post about bending the rail).
The rail should look about like this:
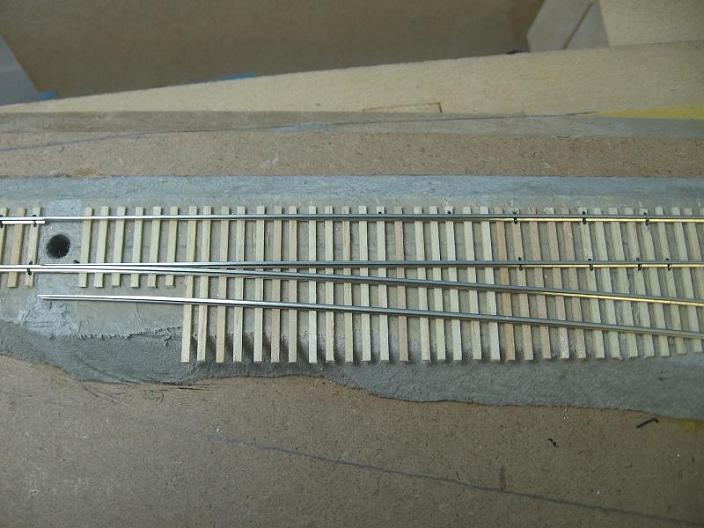
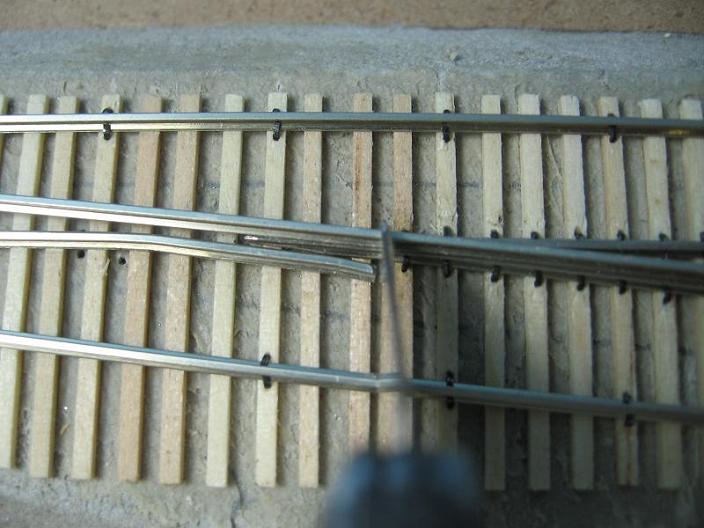
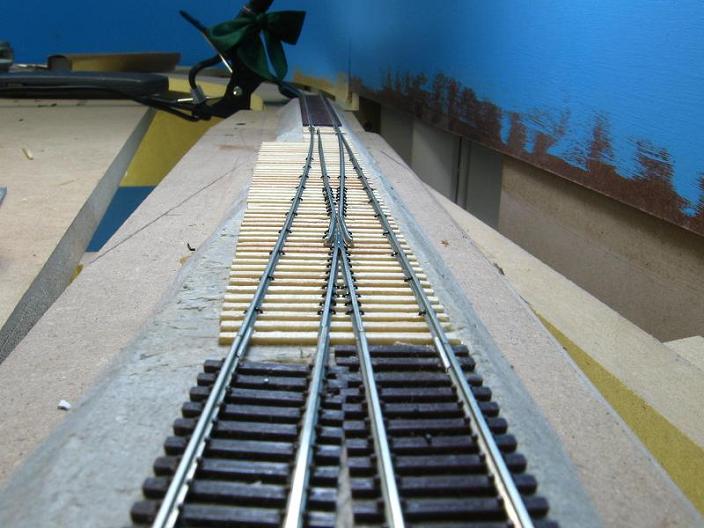
Now we'll sit the rail on top of the frog point and have it run parallel with the rail that is already spiked in, like this:
This will allow us to keep the new curved closure rail straight through the frog area.
Also make sure the rail is sitting snug in the recessed area at the throwbar.
With the rail still sitting on top, we'll mark where to cut the rail and where to bend the rail.
marking at the end of the wing rail:
marking where to bend the rail (making sure it's even with the bend in the other rail)
Once this rail is cut out, follow the steps outlined in the previous posts for bending the rail and making the wing rail.
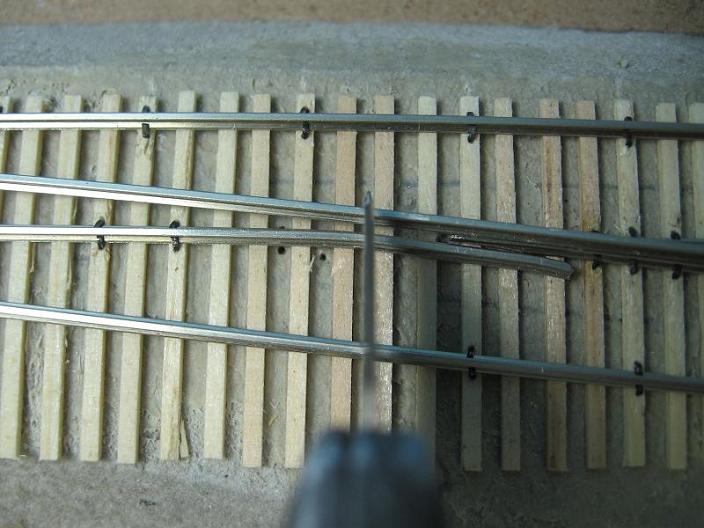
This curved closure rail is a little bit tricky to get in just right. When you eye down the rail, make sure that the part of the rail just before the bend lines up with the frog point rails. We want a nice straight path for the wheels to follow as we go through the frog. Just past the frog we can have the rail start it's curve on the way to the throwbar. Your eyes will tell you if the rail is straight or not. As you eye down the rail, we want it to be the same as the straight rail, perfectly in line and no frog point sticking out into the wheel's path.
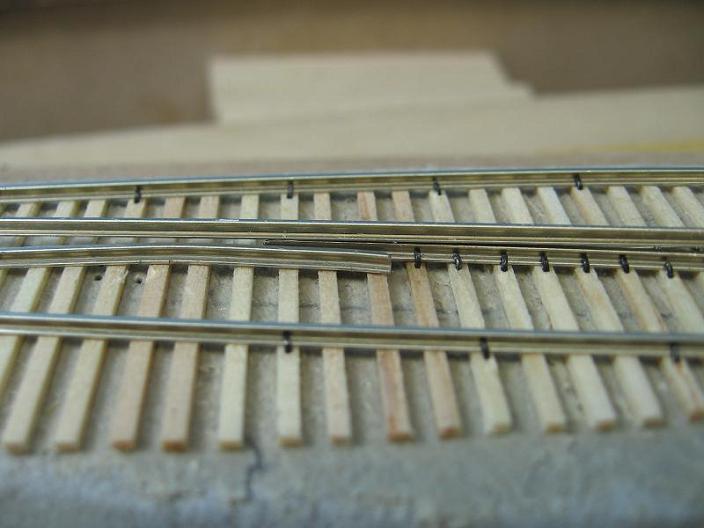
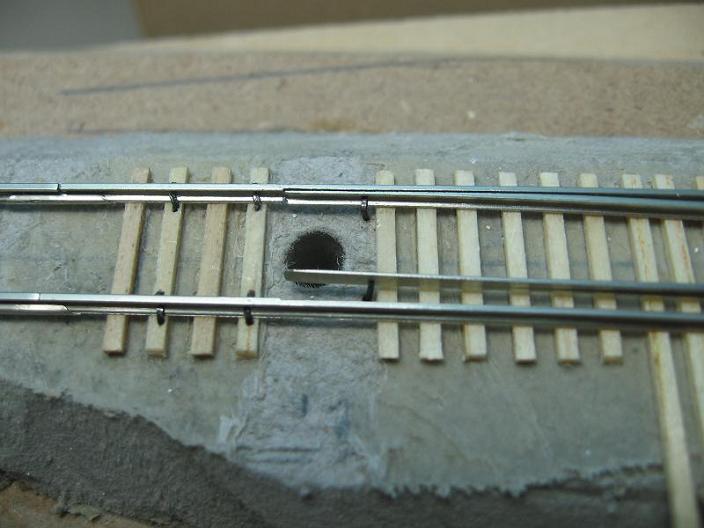
One thing that I notice on my turnouts is the web of each closure rail touches or almost touches each other at the frog. (see pic below)
Now that the rail is bent and in line, we'll put some temporary spikes in it. Remember to put them into just the roadbed, and NOT any ties.
One spike up at the frog...(note the web of both closure rails are touching each other)
and one down at the throwbar. You can also pull the straight closure rail out and put a temp spike in it to hold it out while we run some test cars through the turnout.
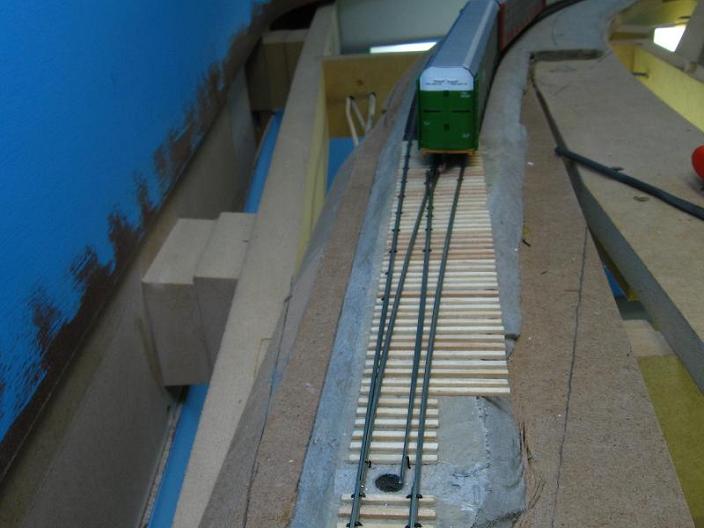
Now take those long/finicky cars and run them back and fourth through the curved leg of the turnout. If the cars go through the turnout smooth without any bumping/jumping or picking the frog point, then Yay! the rail is bent correctly and in the right spot. If the cars keep derailing or are jumpy going through the frog, then check to see if the closure rail is not lined up real good with the frog point rail. Again, a couple frog point picks by the wheels are ok, since we don't have the guard rail in yet.
Once the rail is to your liking, then it's time to spike in both closure rails. We'll also finish spiking in both stock rails too.
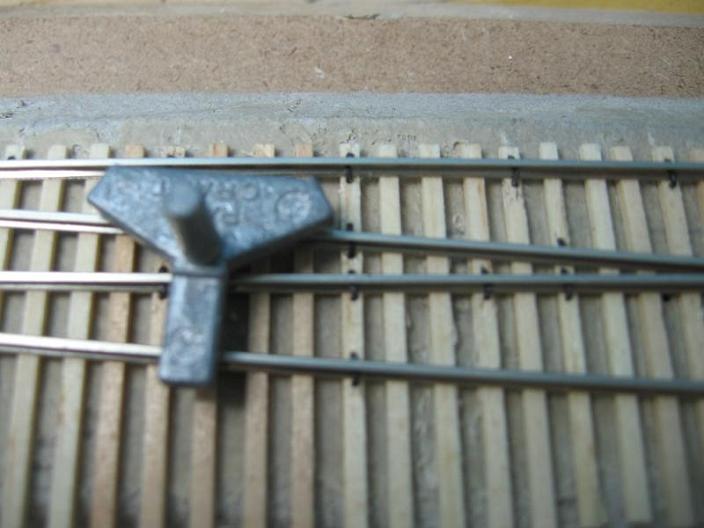
Starting at the frog, we'll work back towards the throwbar. Take the track gauge and put it as far back to the frog as possible and start spiking both the curved closure rail and stock rail. Remember to spike the stock rail into the same ties as the other side. Also, keep eyeing down the curved stock rail to make sure it continues it's smooth curve. We don't want to introduce any kinks into it.
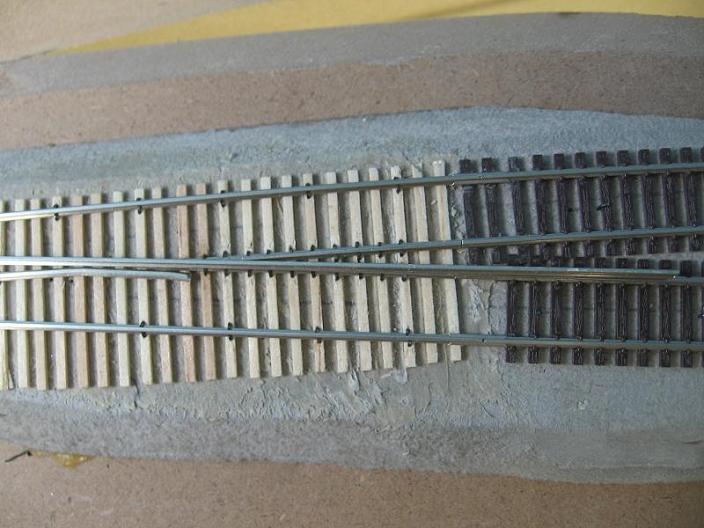
Track gauge sitting on the curved closure and stock rails. (sorry for the blurry pic!)
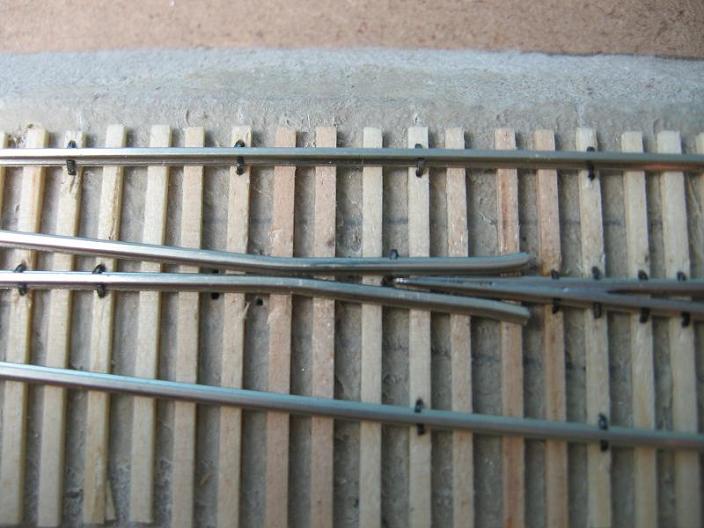
Spike each side of each closure rail back about 8-12 ties from the point of where they touch. I like to end on a tie that has spikes in both of the stock rails. Also put in a few spikes up at each wing rail to keep them secure with the frog point.
A picture will explain this better.
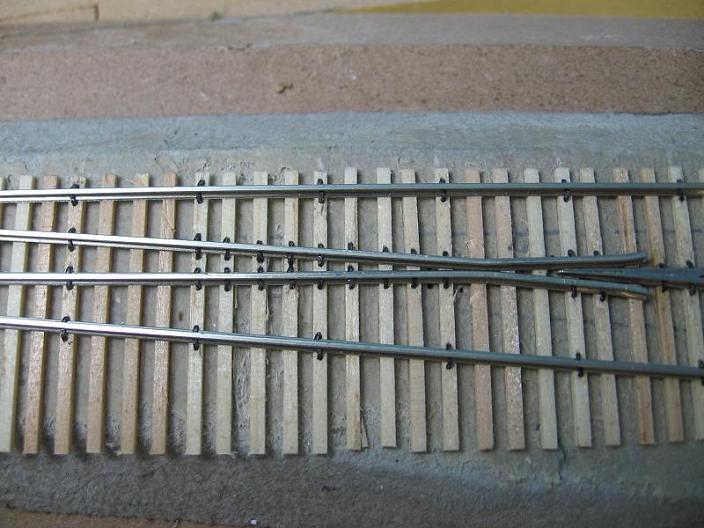
Here we are so far....
All material on The Owens Valley Subdivision website is Copyright 2007-2009 by Michael Stoner. None of the material (including text and photographs) on this web site may be reproduced in any form without prior written permission.